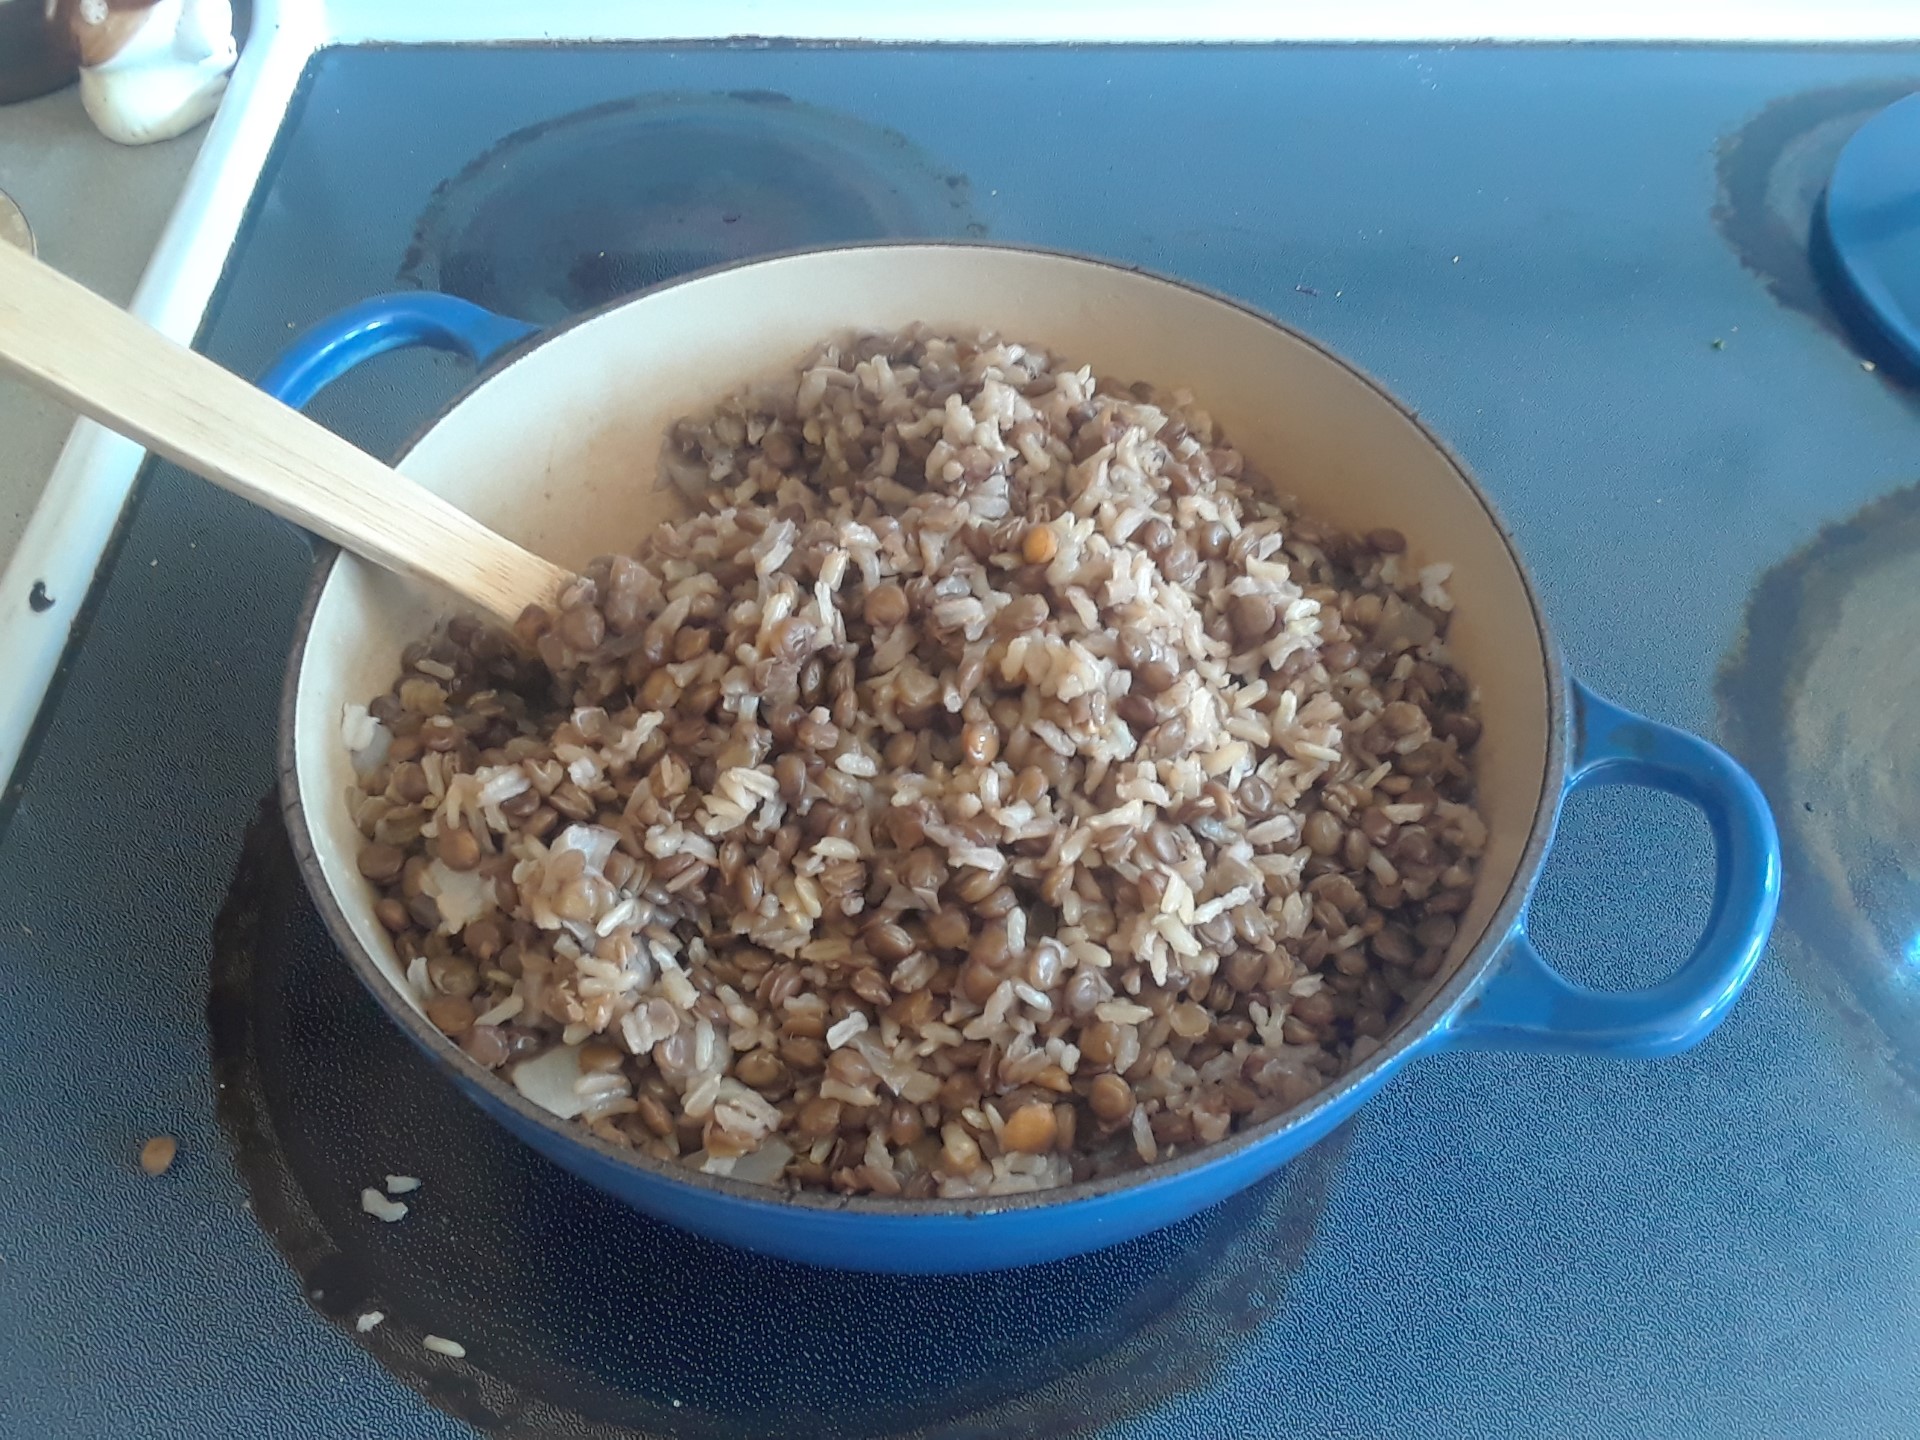
I like many things about Rice and Dal. It’s nearly fool-proof, is super cheap to make, plant-based, nutritious, and tasty. I learned to make this dish in my twenties when I was a student in Germany and on an ultra-low budget. I have my sister to thank for the recipe. She sent me a cookbook. I think it might have been titled “budget eats” or something of that nature. For years, this recipe has also been somewhat of a secret. I never would have thought of preparing it for a family gathering because I didn’t think it special or festive enough, but recently I served it as somewhat of an “emergency meal,” when my sister, a different sister than the one who gave me the cookbook, was joining my out of town cousins and me for dinner. This second sister liked it so much she requested the recipe. And talk about full circle. The out-of-towners were our cousins from the northern port city of Kiel in Germany.
I’m giving the measurements for this recipe mostly in volume and weight. I used a dry measuring cup for the dry ingredients and a wet measuring cup for the water.
1 lb brown lentils, rinsed. (about ½ a large Adams Peanut Butter jar’s worth, the 32 ouncer.)
1 cup brown basmati rice (6 ½ oz)
2 c. chopped yellow onion (8 oz)
1-2 T minced garlic (1/2 oz)
1 t salt
1 bay leaf
Cooking oil (Typically I use canola or olive and canola, though this morning I used lard rendered from frying bacon for German potato salad, which I prepped for–you guessed it–the out-of-towners when they were visiting last month.)
In a heavy-bottomed pot, sauté onions.
When translucent, add garlic. Sauté one minute more.
Drain the water off the lentils and stir in lentils. Cover with water. (The amount water used depends somewhat on how long the lentils soak, as they absorb water. I usually don’t let them soak more than 10-20 minutes. Basically the time it takes to assemble the other ingredients, chop the onions and mince the garlic, set up my pot.) Add enough water to cook the lentils and the rice, without making them go all mushy or get too dry. (Today I used 3 cups water, then after I added the rice I added a ¼ cup more water. (My eyeballing told me I should add a smidge more.))
Add the salt and bay leaf if you haven’t already done so.
Bring lentils to a gentle boil on medium heat.
Stir in the rice. Bring to a boil again. Once things are bubbling again, cover lid and reduce heat to low. Let simmer for a little less than an hour, 55 minutes, say.
Remove from heat and serve. I often like to put a dollop of yogurt or feta cheese on my dal. Also sauerkraut or kim chi is good. And sometimes I add one of each.
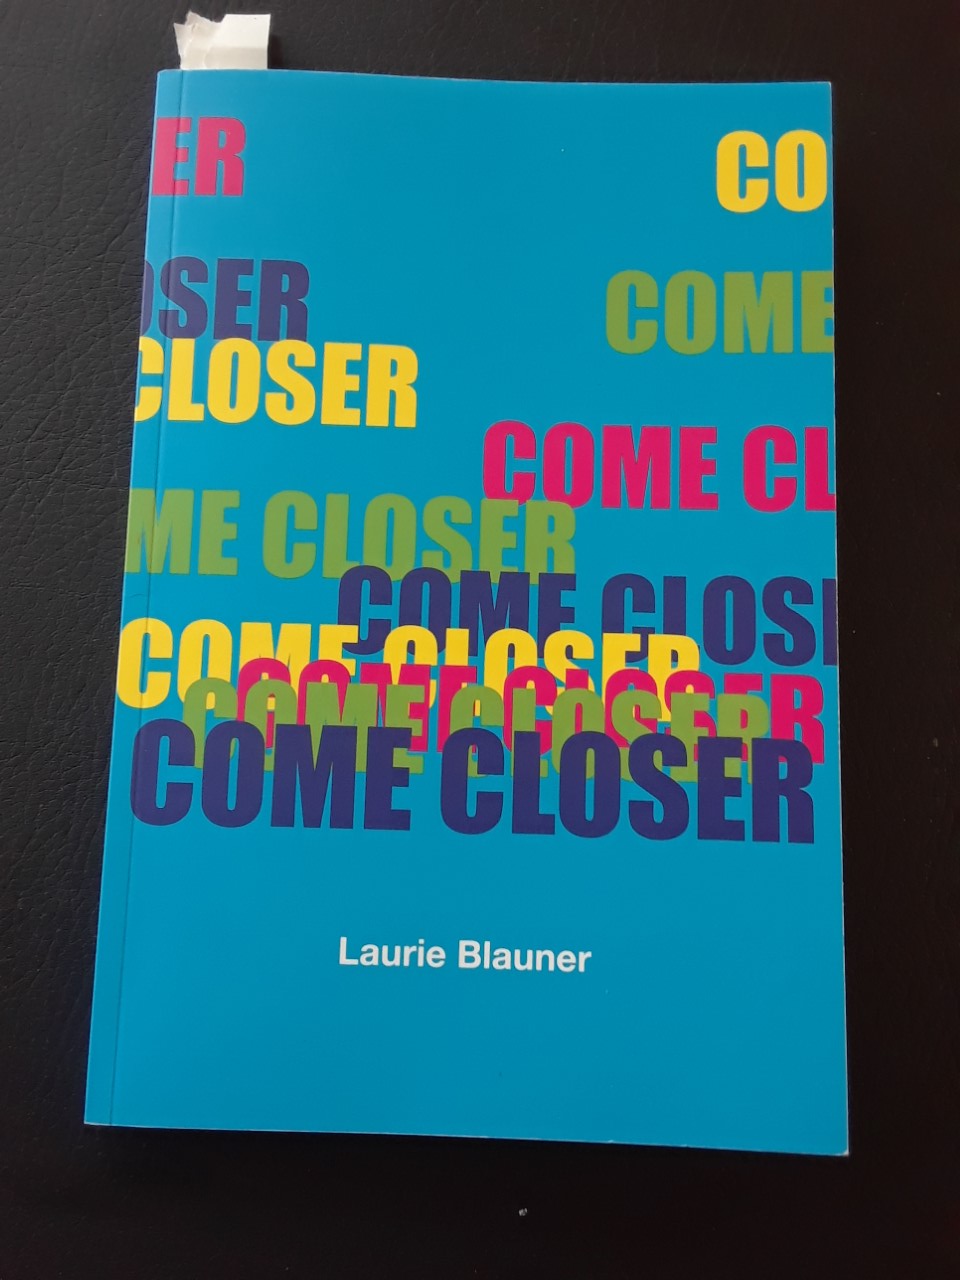
Come Closer is a slim volume of prose poems by gifted poet, novelist, and prose artist Laurie Blauner. This book also won a Bitter Oleander Press chapbook contest in 2022. I read Come Closer in one sitting, on a chilly winter Seattle evening. Reading the entire book in one go is how I recommend you read this. That way you can properly immerse. For me the reading experience reminded me of those long ago days when one might receive a letter, pages long, in which the letter writer opens up her heart and shares her innermost thoughts, ideas, and imaginings. The individual pieces have been carefully curated, with one leading to the next, and the four parts producing a smart whole. Reading Come closer was also like walking along a forest path, where you don’t know exactly what will be round the next corner–rocks, scree, pine trees, stream, mushroom, maybe a deer or downy woodpecker–but somehow, it is all of a piece. And the pleasure is in the journey and the little surprises that take you deeper into the forest, or add, in subtle fashion, to your understanding of things.
Ron is going to be 88 in a few months, but I continue to use this recipe, nearly weekly. Some weeks I might make it sourdough rye and add a tablespoon of blackstrap molasses, or I might sprinkle the basic dough with sunflower seeds or sesame seeds. Some weeks I might bake it in my Roemertopf, that is, my West German made clay baker, which I picked up for ten clams at a yard sale. When I bake it in the Roemer, I line the clay baker with parchment paper, one sheet width-wise and one narrower sheet length-wise, then spray the baker with non-stick cooking spray. I then dump in my dough and let it sit for a number of hours before baking.
I like to measure with a kitchen scale. If you are measuring with measuring cups, 1 cup whole wheat flour=130 gram whole wheat flour. And 350 g flour= about 2 and 2/3 cups flour.
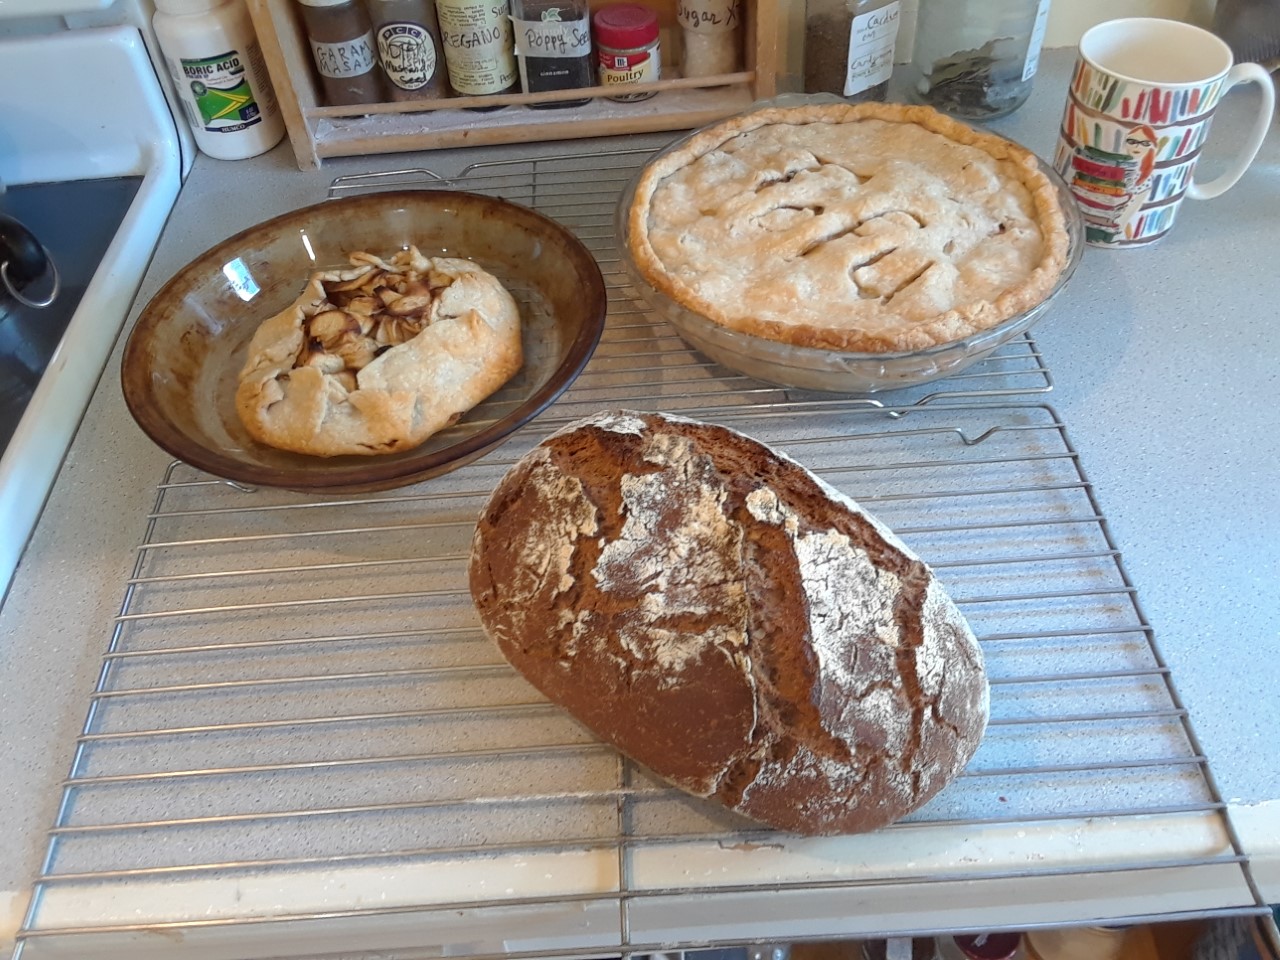
This loaf is from a number of years ago, during my “pie period.” When making last week’s loaf, I forgot to take a pic of the finished product, but I can assure you, it was a good loaf.
Here are the steps:
In a good size bowl, mix together
350 g whole wheat flour
500 g sourdough starter
1 and ½ T salt
2 T cooking oil
½ cup water
Sourdough starter–this is what it looks like straight from the fridgeThis is what it looks like after adding the starter. Note the bubbliness.
Cover with saran wrap and let sit 24 hours or so. You want the dough a bit on the wet side, but not too soupy. A wettish dough will encourage the starter to develop. If the dough is too dry or stiff, the rate at which the dough rises will drop to near zero. The warmth of the room will also affect the rate at which the dough rises. In the summer your dough will develop and rise more quickly than in the winter. I never get too fussy about temps of water added or temps of the starter. My starter lives mostly in the fridge and is at fridge temp when I add it to my flour. I use cold tap water. That way I don’t have to worry about heat killing my starter.
Here’s the dough after mixing in all the ingredients, just before I lay on the Saran wrap.
I add one final measure of flour after my twenty-four hours. Roughly 1 cup more whole wheat flour. But how much you add depends on how sloppy or soft your dough is. You don’t want your dough getting too dry or stiff, as this will yield a less-than-superior bread. You might find that your bread is too salty. (I’ve been meaning to give my recipe a salt tweak for a number of months. Probably something closer to 4 teaspoons salt is better, but it’s a fine line on the salt, because if you under salt, that is not the most pleasant either, taste-wise. It won’t effect the rising, but it will affect the taste.)
So, you’ve added that last measure of flour. Now, if your plan is the “dump into hot pot” baking method, liberally dose a tea towel with white flour. I use white flour for this, because white flour is cheaper than whole wheat flour, and this measure of flour isn’t going into the bread, it’s just coating the bread so it doesn’t stick to the tea towel.
Set the lump of bread dough, that you’ve now liberally coated within the confines of a tea towel, back into the bowl the dough’s been living in for the previous 24 hours. Let the dough rest there for a number of hours while it rises again. You can take a peek after four hours or so and see how it’s doing. Just fold the towel back a ways and look. Does it look like it’s grown and got that nice dough dome?
OK. Good. Set a big deep pot, one with a lid, what some refer to as a “Dutch oven,” inside your oven and crank up to 450 Fahrenheit. When your oven heats up, pull your pot from the oven and set it on the stove top, dump in your dough ball, cover the pot with the lid, stick the “Dutch oven” back in the oven and bake at 450 for 45 minutes. Please use some serious oven mitts for this part so you don’t burn yourself.
Remove pot from oven. Flip pot over and loaf should slide right out. Tap loaf on bottom. It should sound hollow. If not, set loaf back in pot and set pot back in oven for additional baking. Otherwise, set loaf on wire rack or tea towel to cool.
I wait until loaf is completely cool before slicing. Often I don’t slice the loaf until the next morning. Then I package the loaf into ¼ loaves and freeze all but one of the quarters.
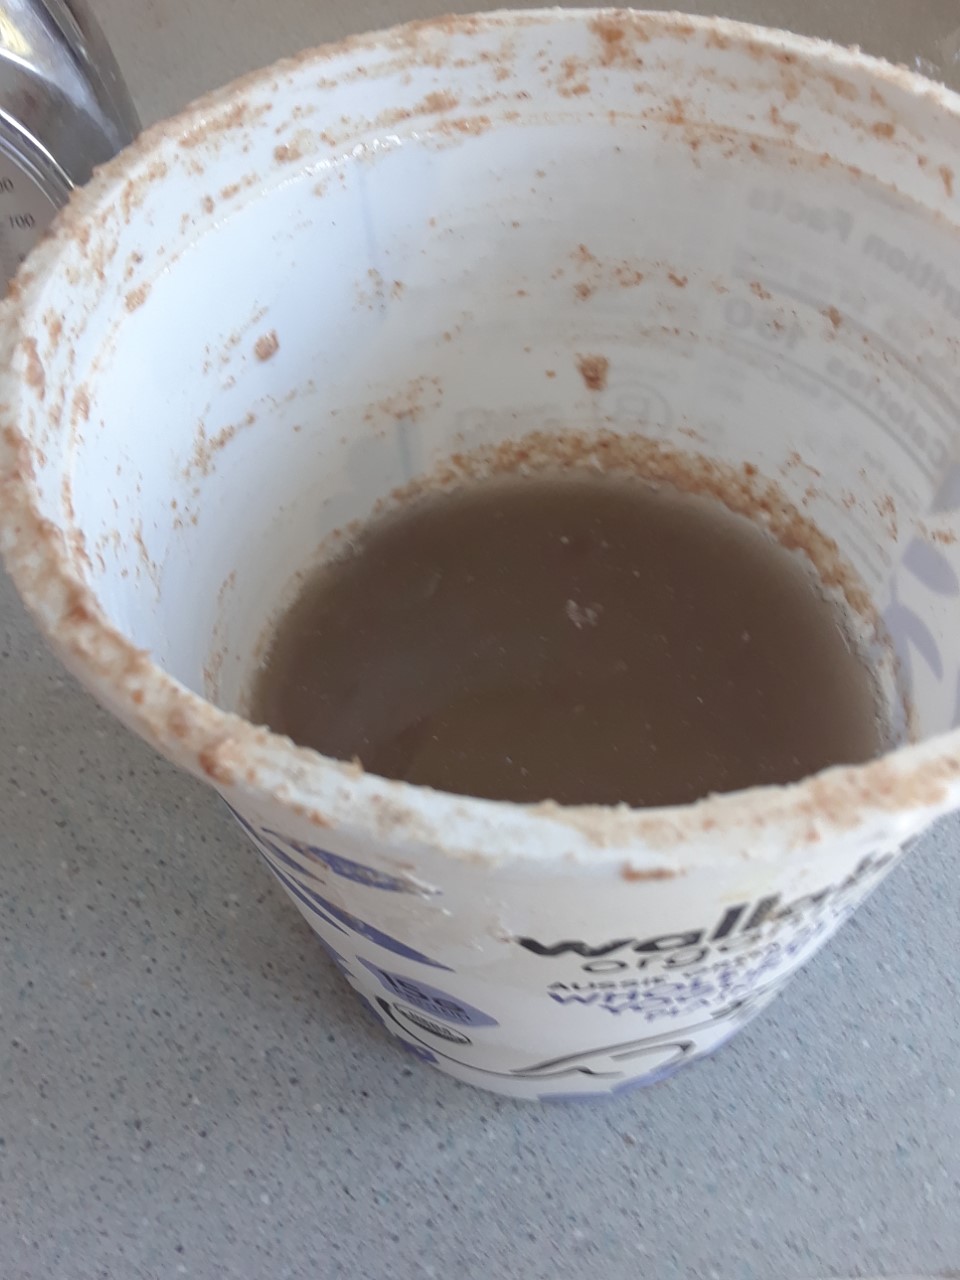
Note on the starter: I always replenish the starter any time I use the starter. Typically, before I use the starter. I add one small yogurt container’s worth of whole wheat flour (140 grams) and 1 cup water from my liquid measuring cup to my starter container and mix well.
Sometimes I replenish my starter with white flour rather than whole wheat flour. You can use either. You’ll notice that if you use white flour, your starter will get runnier, and if you use whole wheat flour, your starter will be thicker. Also the dough may be sloppier or stiffer depending on what brand and type of whole wheat flour (if using) you use. Also if you sub out rye for a portion of your whole wheat flour this will give you a stiffer dough.
No worries on any of this. Just pay attention and realize that depending what flour you are using, or what combination of flours you are using, you may wish to add more or less water.
Over my years of bread-making, one of my biggest take-home lessons is probably not to let the dough get too stiff, as this results in either a dry bread or one that doesn’t rise much and doesn’t get cooked completely in the middle, and is not the most pleasant to eat.
If your dough doesn’t seem to be doing anything, don’t be afraid to add another portion of water or a portion more starter.
I was culling through an old journal this morning and came upon this bit, from way back in Feb. 2016. Back then I was calling the story Alaska and had yet to complete Killing Clifford Gray’s first draft. I considered blogging about the Alaska writing process itself, but deemed it too risky. KCG was just a tender seedling, it’s head barely above the soil, so easily squashed.
Read on, if you want a view in to my thinking from that long ago time.
But before you read on, here’s an update on where you can find some other stuff penned by me:
Free State Review, Dec. 2021 issue.
Drunk Monkeys, in an as yet to be determined issue.
Bridge Eight, spring 2020.
The March and April 2022 issues of Spread, a Seattle-based zine published by Chris Dusterhoff, who also helms New Pacific Press in addition to his USPS mail carrying duties.
Why I Wrote Killing Clifford Gray
Lots of stuff came up at my best friend’s father’s funeral. I began writing. And writing. I sat in the big black chair and wrote for hours. About the funeral. Seeing people re-congregate whom I hadn’t seen for decades. Seeing the old dynamics. How little had changed. How did people get trapped into patterns they didn’t want to be in? They didn’t want to re-enact the same old script, but there they were, re-enacting it. The one they knew by heart. Learning a new one wasn’t going to happen.
After weeks of write, write, writing, I decided I needed to fictionify. The old stories had dragged me in. I had to step back. Step out. No. I couldn’t write the stories as I had known them. But they wouldn’t let up. The old stories kept pounding on my cranium. What were they trying to tell me?
Killing Clifford Gray is about running away from the things we should confront. Confronting things we should be running from. And religion and love, guilt and responsibility and making the same mistake over and over. Because that’s the way they’d always been done. Because there’s a right and a wrong way and we wouldn’t be caught dead doing things the wrong way.
I wanted to explore the choices we make to love or not to love and how we show love and don’t show love. I wanted to explore how fear corrupts us. I wanted to explore the lengths we’ll go to rights the wrongs we have done.
¾ c. (1 and ½ sticks) unsalted butter or margarine
¾ c. sugar
3. Beat 1 egg into fluffed sugar and butter mixture.
4. Mix dry ingredients + 2 Tablespoons finely chopped lemon verbena leaves** with the butter mixture.
5. Shape dough into log, wrap tightly in wax paper or Saran, and chill until firm.
6. Roll dough into 1 in. diameter balls. Roll in cookie coating
(Cookie coating =1/3 cup almond flour and 3 T sugar.)
Place balls 2 in. apart on parchment-lined cookie sheets.
Flatten slightly with fingers.
7. Bake in 350 degree oven 10-12 minutes, until golden. Transfer to wire racks.
Makes about 5 dozen.
*All almond flour variation: increase the almond flour to 2 cups and omit the wheat flour.
I found that the all almond flour variation is more delicate. The cookies made with 100% almond flour also spread out more during baking, so give the cookies plenty of elbow room.
Allow to cool undisturbed on cookie sheet before transferring to wire rack for further cooling. Also the all almond version may burn more easily, so watch like a hawk. I baked two cookie sheets at a time, swapping them out on the oven racks mid-baking.
Not trying to scare anyone off from the all almond path, though, particularly as the cookie testers gave the almond version high marks for cookie taste and enjoyment.
**Lemon verbena is a herb we planted last summer in one of our veggie beds. Our lemon verb overwintered and came back this spring, so… a fairly good bang for our horitcultural buck.
Calling all Pizza Adventurers and Culinary Experimentalists,
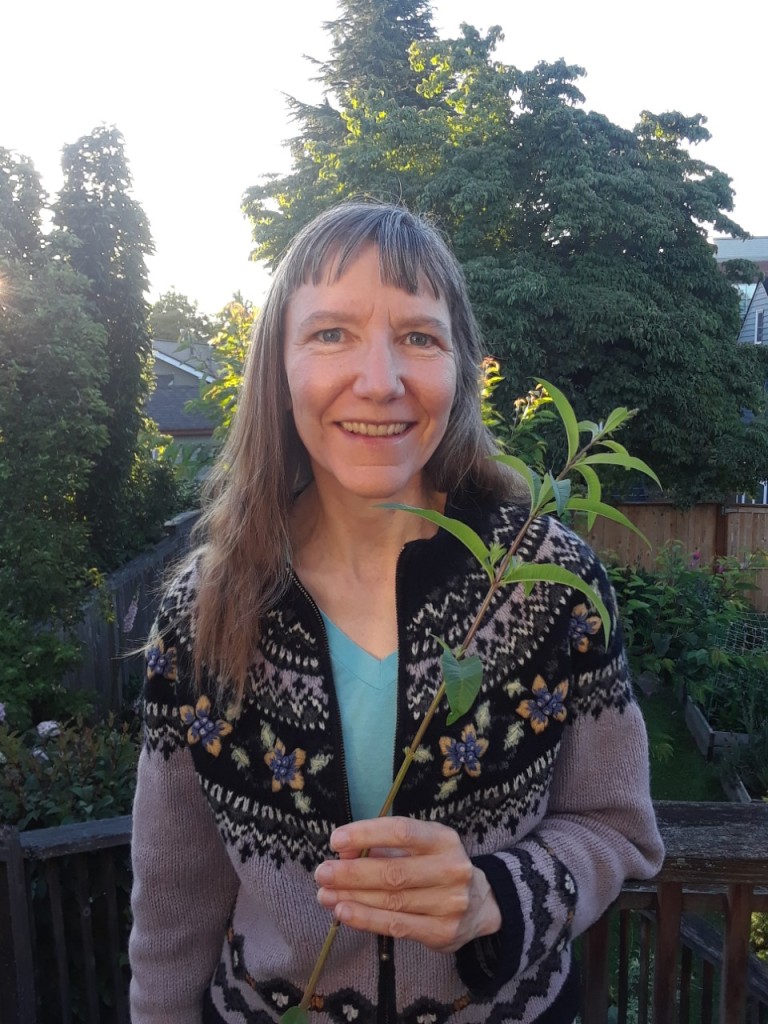
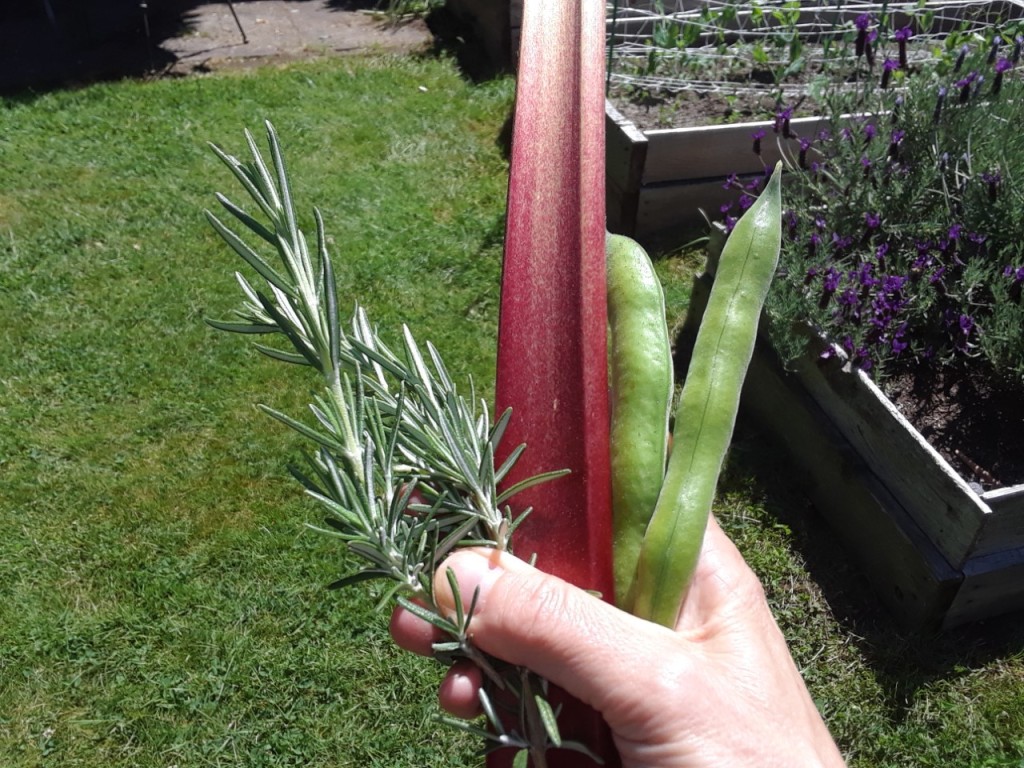
Today we’re going for bottom to top pizza coolness. We’re making rhubarb pizza on a sourdough, cracked pepper crust. (Dear Neighbors Northers: I meant to get this recipe out to you a little sooner, as it capitalizes on spring ingredients that might be on the wane now. But, if you act quickly, perhaps you, too, can enjoy this springtime pizza.)This pie also features fresh fava beans and rosemary. Rhubarb, favas, and rosemary are all ready for harvesting right now, hopefully in your own backyard garden or in a beloved friend or neighbor’s garden or pea patch.
As if all this weren’t enough, this pizza uses fake-o marinara. (No more painstakingly prepared pizza gravy for me. Not since my Italian friend’s husband and one-time Belltown pizzeria shop operator clued me in that pizza doesn’t need it. The reason had something to do with the pizza pies’ high baking temp, but the proof is in the pizza, and I can tell you that pizza quality does not diminish using crushed toms from a can. If anything, the tomatoes taste livelier and the pizza pie quality zooms upward.)
So much reward for just opening a can and pouring! On pizza, straight up crushed canned tomatoes is the way to go.
What’s that you say? Rhubarb pizza with the fake-o marinara thing is a little weird? Well, yes, but being as we’re already out on a culinary limb, why not build a whole weird pizza tree house! And, trust me. You’ll like this pie.
OK. Let’s make pizza!
STEP 1: Sour dough pizza crust (This recipe make 2 eleven inch diameter pizzas.)
Mix the following in a mid-range bowl:
200 g white bread flour 250 grams sourdough starter (I make mine solely with tap water and whole wheat flour (any type, so long as it’s not whole wheat pastry flour, which has a lower gluten content), in a 1:1 ratio by volume. 1 cup each is good to start with.) 40 g water 2 t salt 2 T olive oil (I just eyeball it) 2 T chopped fresh rosemary 1 t freshly cracked black pepper.
Mix everything up to a dampish dough, then cover the bowl with Saran and go do something else for several hours: as in, eight hours or all day. This is a sourdough, which takes much longer to rise than pizza made with grocery store yeast.
Eight hours later, and hopefully this is about 1 and ½ hours before you want to eat, if your dough has doubled in volume, proceed to Making Your Pizza Platform (below). If your dough hasn’t doubled in size, don’t despair. Stick your bowl of dough in the fridge overnight. The next day, pull it out from the fridge and set it on the counter till it has doubled, at which time you can proceed to Making Your Pizza Platform (Yay! You’ve caught up to those other pizza makers.)
(With either of these approaches, don’t worry if you can’t get to Making Your Pizza Platform right away after doubling. It doesn’t have to happen immediately. Your dough won’t punish you for waiting an hour or two.)
STEP 2: Making Your Pizza Platform:
Part 1. Preparing the baking and rolling surface.
1. Tear off two pieces of parchment paper about 13 inches square.
2. Set the squares on your pizza scaffolding (For my scaffolding, I use a piel for one pie and a wooden cutting board, about 12×12 inches, for the second pie. This is because I only have one piel. I’ve discovered the cutting board does the job nicely.
The downside to using a cutting board is I don’t have the piel’s long arm, but with the pizza transfer method I use, I’m reaching my arm into the oven regardless and not using the piel properly anyway.)
3. Dust the parchment generously with flour. (I like to be uber-generous here. I create a circle-shaped flour plateau, about 6inches in diameter and 1/8th to ¼ inch thick. (Please don’t tell any “real bakers” I do this. I’m sure I would be shunned, but I find that if I over-flour a little at this early step, it saves me from over-flouring later on. I’ll also flour dose more liberally, if my dough was maybe a little tackier or wetter than it should have been.))
Part 2. Forming the Pizza Platform.
1. Gather the dough into a ball. (I like to use a silicone spatula for this step, in part for its non stick properties, in part to keep my hands clean.)
2. Cut the dough ball in half. (I use a metal bench cutter dipped in flour. Fussy, fussy, you’re probably thinking. Yeah. I admit it, but I like how the bench cutter makes a clean cut that doesn’t stretch the dough. If you don’t have a bench cutter, try with a sharp knife.)
3. Re-form the half moons of dough into balls. (Here, I’ll dust my hands with flour. (This reduces stickiness issues.))
4. Final step. Invert the mixing bowl over one dough ball and place saran, gently, over the other.
Whew! That was a lot! Now we move on to
STEP 3: Preparing Your Pizza Toppings
While your dough rests prepare your pizza toppings and turn on your oven, which needs to heat up to a whomping 500 degrees F. If you have a pizza stone, now is when you want to set it in your oven. (The stone doesn’t deal well with quick and extreme changes in temperature. If you set your stone in after your oven has heated to 500, your stone is in danger of cracking or otherwise blowing apart, an outcome you definitely do not want.) Set the stone right on top of one of your oven racks. If you don’t have a stone, improvise. I suggest the humble cookie sheet. (If you plan on baking pizzas regularly, though, even if only to bake the frozen kind, I recommend getting a stone. Even on the frozen pie, it will up the quality.)
Here’s what goes on the pizza: Please note, these amounts are for 1 pizza, but you’re making two pies, so prepare double these amounts.
Lightly pave pie with crushed toms, straight from a can (about 2 T/pie), then sprinkle on some dried basil fairy dust.
In no particular order, layer on
½ cup thinly sliced crimini mushrooms ¼- ½ cup Fava beans, par-boiled and with outer skins removed ¼ cup rhubarb, sliced in 1/8 inch moons ¼ cup thinly sliced red bell pepper ¼ cup julienned red cabbage 3. Sprinkle on Mozzarella and parmesan cheese, about ¼ cup each, but feel free to pour with a generous hand. Your pizza platform will support a little more cheese.
STEP 4: Baking.
When all the toppings are on and the oven has reached 500 degrees, open the oven door, and carefully, carefully, reach inside with your pizza-topped piel or cutting board. Lift up the leading edge of the parchment (the edge that’s farther into the oven) and slide the parchment and pizza onto the pizza stone.
Bake for 13 min in the 500 degree oven.
Open the oven door, reach in again with your pizza transferring tool—piel or cutting board—and carefully, carefully, lift the parchment’s crisped edge, slide the parchment and pizza onto the piel or cutting board, remove from oven, and slide in pie number two.
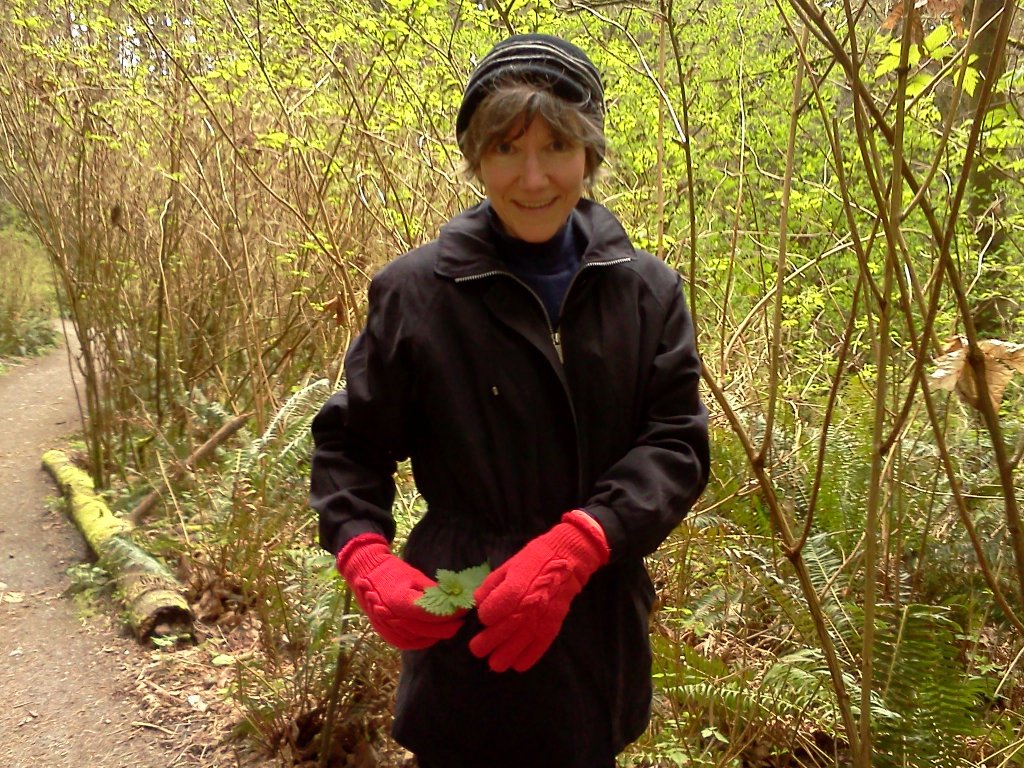
That’s me, picking nettles. Here you can see I wised up and wore thick gloves. The result–no nettle sting.
Nettle Pizza! Yes! This one’s a winner. On a sourdough crust, no less. And it’s something you can make in this Covid time. Well, I did, so I’m betting that you can.
I prepped my dough on Tuesday.
1 cup whole wheat + 1 cup water fed to the sourdough starter mix.
Made dough with about 200 grams white bread flour, 250 grams sourdough starter, and 50 ml water. Added 2 t salt, about 2 T olive oil, and 2 T chopped fresh rosemary.
Next came the fun part—the nettle hunt! Only picked the freshest and tenderest. Wear thick gloves, people! I didn’t and those nettles are sharp. A nasty nettle on my fingertip that smarted all day long, even after I chewed up a salmonberry leaf and spit it onto my finger. (That was what Grandma H always told me to do for the nettle stings in my youth. That or apply witch hazel. Grandma H was a big fan of Prevention magazine. No doubt the remedies were listed there. Is Prevention still a thing?)
On Wednesday afternoon I divided my dough into two and shaped it into dough balls. Rolled the dough out onto floured parchment as usual. (My sister claims the flouring isn’t necessary. She has luck without doing it without flouring, and OK, good for her. I don’t. I set down a generous sprinkling of flour first. And no, sis, it doesn’t infiltrate my dough and mess it up.) Since I’ve mentioned Grandma H in this recipe, I’d like to also mention Grandpa H. Because what do I use to roll out my dough circles with—you guessed it! A wooden dowel custom cut by Grandpa H. The very dowel he cut for Grandma H, which I then inherited. The dowel is about 1 ¼ inch diameter and a generous length, I’d guess at least 14 inches. No, I’m not going to dig it out from the cupboard to measure it. No time. I’m trying to give you the world’s best Nettle Pizza recipe here. You’ll have to take my word for it. Just trust me that my dowel has rolled out pies, biscuits, and pizza for upwards of 25 years. Oops. Looks like I’m lying again. Maybe it wasn’t inherited directly from Grandma, as she hasn’t been gone that long. Which means Grandpa H cut the dowel especially for me. Even specialer.
But back to the pizza dough. So, I rolled it out—and here’s where it gets interesting—I covered my dough circles with Saran and let them rest. Dough beauty rest! Yes! So my dough could get all puffy and bouncy and beautiful again.
Here’s what went on the pizzas:
First: 2 T crushed tomatoes, straight from the can. Then a sprinkling of dried basil.
Second: chopped green pepper, sautéed leeks, and 2 cups cauliflower broken into small bits.
Third: the nettles! Proceed cautiously, like I did. Use tongs. (Additional nettle handling suggestions: set the nettles on the pizza face up, as their prickles seem more prevalent on their underbellies. Clip off any lingering nettle stem, as this too, seems a place of prickle congregation.)
Lastly, a sprinkle of broken up walnuts (I just break them into small pieces with my fingers), crumbled feta, and grated mozzarella. Again, use caution. You do not want to even brush your skin against the fearsome nettles.
Now, to bake. Into the 500 degree our nettle pizza goes, right onto the hot pizza stone, parchment paper and all. 13 minutes later, pull the baked pizza out and slide in pizza pie numero dos.
OMG! Are you still wondering about this enterprise? Nettles on pizza? She keeps saying how dangerous nettles are—how nasty their sting, etc., etc. Why else was Grandma H buying witch hazel in bulk? And will such pizza be any good, let alone edible? How will I transport it to my mouth without needing a trip to urgent care?
Here’s the secret: baked nettles lose their sting. Voila! My nettle pizza emerged from the oven incredibly delicious. The toasted nettle added an indescribable bittery-tart note. The sourdough crust supported all the ingredients admirably. The leeks gave an additional springy note.
So, everyone! March to yonder woods. Pick nettles and put them on your pizza!
In the time of Corona Virus 19, the shelves are looking bare at the grocery stores. Rice? Gone. Oatmeal? Only the steel-cut kind. Beans? Down to a couple packets of black and some cans of pintos. Make bread? Good luck. The flour’s been taken. Ditto, the Fleischman’s yeast powder.
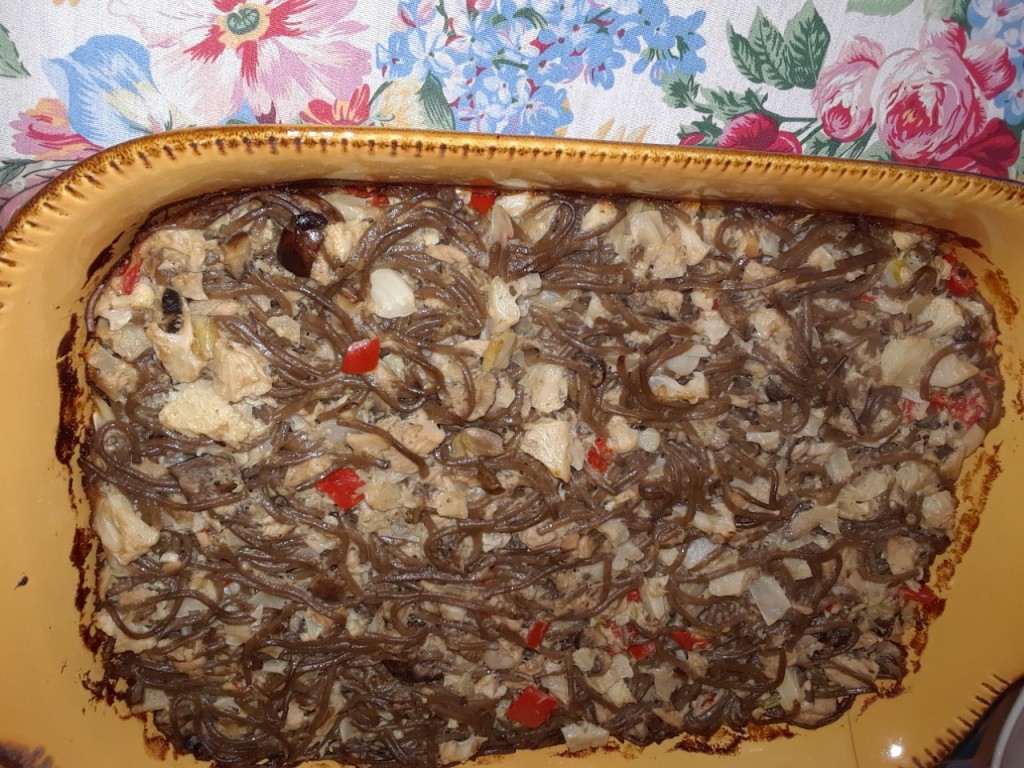
Which means… it’s time to make Financial Fast Casserole, or Fasserole, for short, or FFC for shorter. Fasserole is the casserole you make from things at hand. You know, the dribs and drabs. A can of this. A packet of that. Also, this is when you throw in the little ends of veg, before they get green fuzzies.
Get creative!
Here’s the Urban Farmer’s recipe, but don’t make a carbon copy. That’s not the point here. The point here is to “get creative. Use up what you already have.”
First step: Gather ingredients.
The Urban Farmer’s include:
Veggies! About ½ lb of crimini mushrooms, what’s left of a red bell pepper, the last chunk of green cabbage (left over from St. Paddie’s corned beef and cabbage), a smallish bit of cauliflower, and about ¼ stalk celery (This was all that was left after the granddaughter’s snack of ants on a log (raisins and peanut butter on celery) for folks not in the preschool loop).
2 cans tuna fish.
2 portions buckwheat Soba noodles. Soba what? You ask. The Urban Farmer hears you grumbling. That’s OK. You don’t need to use Sobas. We’re in the time of Covid. Use what you have.
Second step: Chop, chop, chop your veggies. While doing that, start making your white sauce. (This is also your “Third Step.”)
Yes. You can do this. If the Urban Farmer can, believe me, you can.
Third Step: White sauce. Here’s how:
Recipe for White Sauce.
Dump 1 stick butter into a largish pan. Think 2 or 3 quart. Let it melt on medium heat. Wait for it to completely melt, then toss in
¼ cup (= 4 Tablespoons) all-purpose white flour. Stir it well.
Add in 1 cup milk. Keep stirring, fairly regularly, so nothing sticks to pan bottom.
(Tip: if you want to flavor fantastisize it, after the butter melts, stir in the chopped mushrooms, red bell, and celery.)
Fourth step: Cook your noodles according to the package directions, then drain them.
Fifth step: Mix remaining veggies, the cauliflower and cabbage in the Urban Farmer’s case, the noodles, and the 2 cans of tuna in with your white sauce. Stir it well, then dump into a greased casserole. Cover with aluminum foil
This review of Dan Chaon’s Ill Will is going to be short and sweet. I wouldn’t be writing one at all, not because I didn’t want to, but because I wanted to work on my own writing stuff. But when I was reviewing the status of the books I have out at the Seattle Public Library just moments ago, I came across a reader who dissed Dan’s book, saying it was, basically, unreadable and plotless. What? Dissing Dan’s book? This guy is amazing.
Ill Will reminded me of Palahniuk’s Fight Club, but with much deeper psychological portraits. Dan turns his characters inside out and then some. He never provides easy answers to the question of how darkness perpetuates itself. In Ill Will he shows the manipulator’s power to pilot the unwary and guileless towards their own personal spectacular train wrecks. His characters are incredibly well drawn, beautifully flawed, aching to be understood, awash in despair, lost, clueless, unhumbled, so well padded within the cocoons of their own realities that they see everything but their own fatal blind spot.
Added deliciousness, Dan kept me guessing till the very end who the real villain in the story was.
But OK. Yeah. If you need Dick and Jane books or ones that deliver a Happy End, Ill Will certainly is not that. But if you are interested in a study of the dark side of the human psyche, that shows how evil can snowball forward by people who consider themselves basically good, then read Ill Will.
We’re on holiday in Buenos Aires this month. Expect short, touristy posts. Last Sunday Argentines voted in their primary. No one expected Pres. Macri to fare as poorly as he did. I don’t know if that explains red-eyed girl either.
Why the girl with the blocked out eyes? Why the redness? Who sprayed her onto the wall? Does she know Jesus? His coffee shop? We just passed it a block ago. And that man in the distance, wearing the black puff coat, jauntily strolling along, pretending to be jonesing for his next cafe doble. What’s his story?


 Dear Neighbors Northers,