
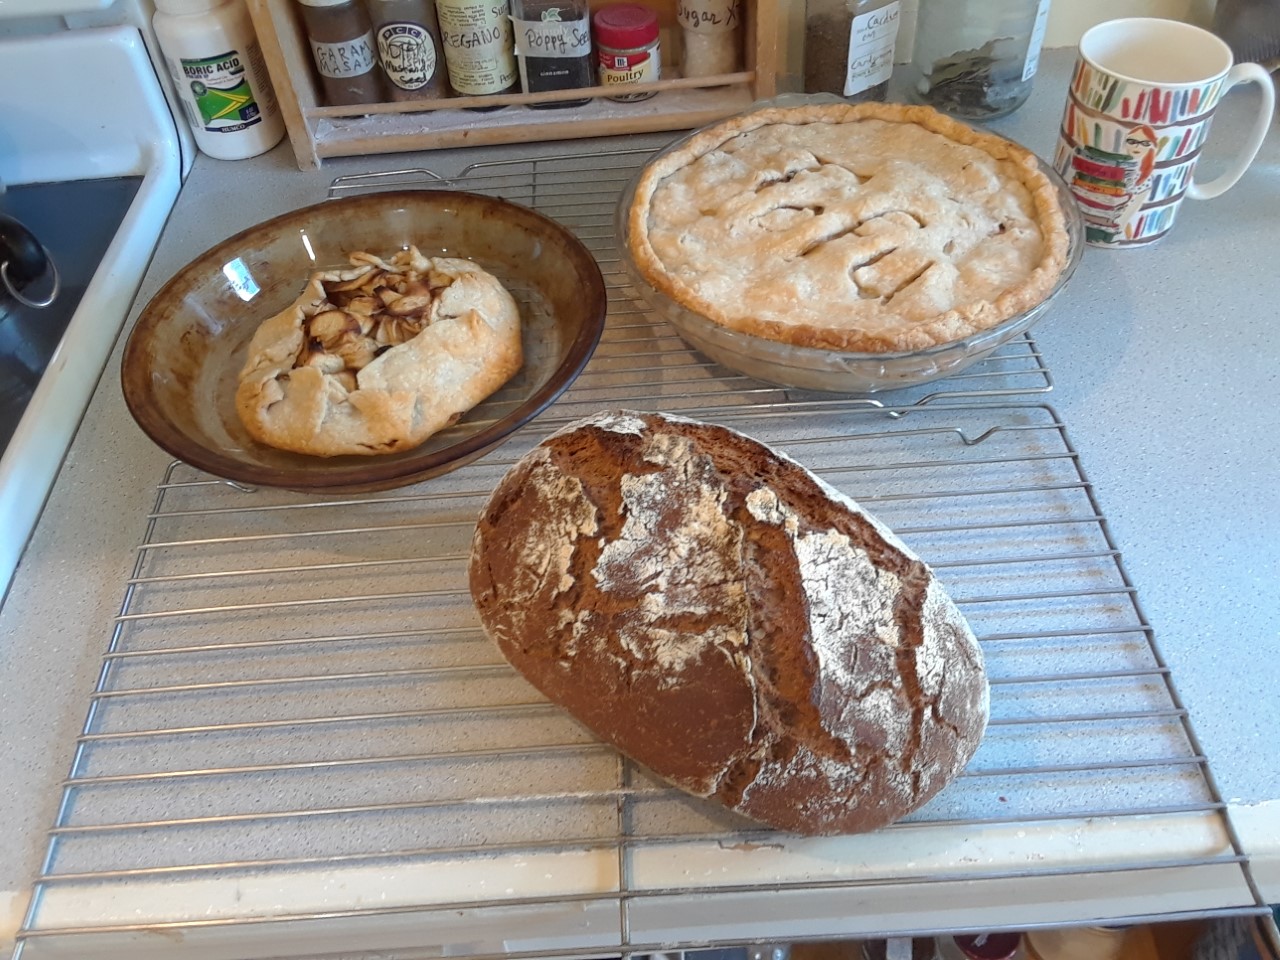
Ron is going to be 88 in a few months, but I continue to use this recipe, nearly weekly. Some weeks I might make it sourdough rye and add a tablespoon of blackstrap molasses, or I might sprinkle the basic dough with sunflower seeds or sesame seeds. Some weeks I might bake it in my Roemertopf, that is, my West German made clay baker, which I picked up for ten clams at a yard sale. When I bake it in the Roemer, I line the clay baker with parchment paper, one sheet width-wise and one narrower sheet length-wise, then spray the baker with non-stick cooking spray. I then dump in my dough and let it sit for a number of hours before baking.
I like to measure with a kitchen scale. If you are measuring with measuring cups, 1 cup whole wheat flour=130 gram whole wheat flour. And 350 g flour= about 2 and 2/3 cups flour.
Here are the steps:
In a good size bowl, mix together
350 g whole wheat flour
500 g sourdough starter
1 and ½ T salt
2 T cooking oil
½ cup water

Cover with saran wrap and let sit 24 hours or so. You want the dough a bit on the wet side, but not too soupy. A wettish dough will encourage the starter to develop. If the dough is too dry or stiff, the rate at which the dough rises will drop to near zero. The warmth of the room will also affect the rate at which the dough rises. In the summer your dough will develop and rise more quickly than in the winter. I never get too fussy about temps of water added or temps of the starter. My starter lives mostly in the fridge and is at fridge temp when I add it to my flour. I use cold tap water. That way I don’t have to worry about heat killing my starter.

I add one final measure of flour after my twenty-four hours. Roughly 1 cup more whole wheat flour. But how much you add depends on how sloppy or soft your dough is. You don’t want your dough getting too dry or stiff, as this will yield a less-than-superior bread. You might find that your bread is too salty. (I’ve been meaning to give my recipe a salt tweak for a number of months. Probably something closer to 4 teaspoons salt is better, but it’s a fine line on the salt, because if you under salt, that is not the most pleasant either, taste-wise. It won’t effect the rising, but it will affect the taste.)
So, you’ve added that last measure of flour. Now, if your plan is the “dump into hot pot” baking method, liberally dose a tea towel with white flour. I use white flour for this, because white flour is cheaper than whole wheat flour, and this measure of flour isn’t going into the bread, it’s just coating the bread so it doesn’t stick to the tea towel.
Set the lump of bread dough, that you’ve now liberally coated within the confines of a tea towel, back into the bowl the dough’s been living in for the previous 24 hours. Let the dough rest there for a number of hours while it rises again. You can take a peek after four hours or so and see how it’s doing. Just fold the towel back a ways and look. Does it look like it’s grown and got that nice dough dome?
OK. Good. Set a big deep pot, one with a lid, what some refer to as a “Dutch oven,” inside your oven and crank up to 450 Fahrenheit. When your oven heats up, pull your pot from the oven and set it on the stove top, dump in your dough ball, cover the pot with the lid, stick the “Dutch oven” back in the oven and bake at 450 for 45 minutes. Please use some serious oven mitts for this part so you don’t burn yourself.
Remove pot from oven. Flip pot over and loaf should slide right out. Tap loaf on bottom. It should sound hollow. If not, set loaf back in pot and set pot back in oven for additional baking. Otherwise, set loaf on wire rack or tea towel to cool.
I wait until loaf is completely cool before slicing. Often I don’t slice the loaf until the next morning. Then I package the loaf into ¼ loaves and freeze all but one of the quarters.
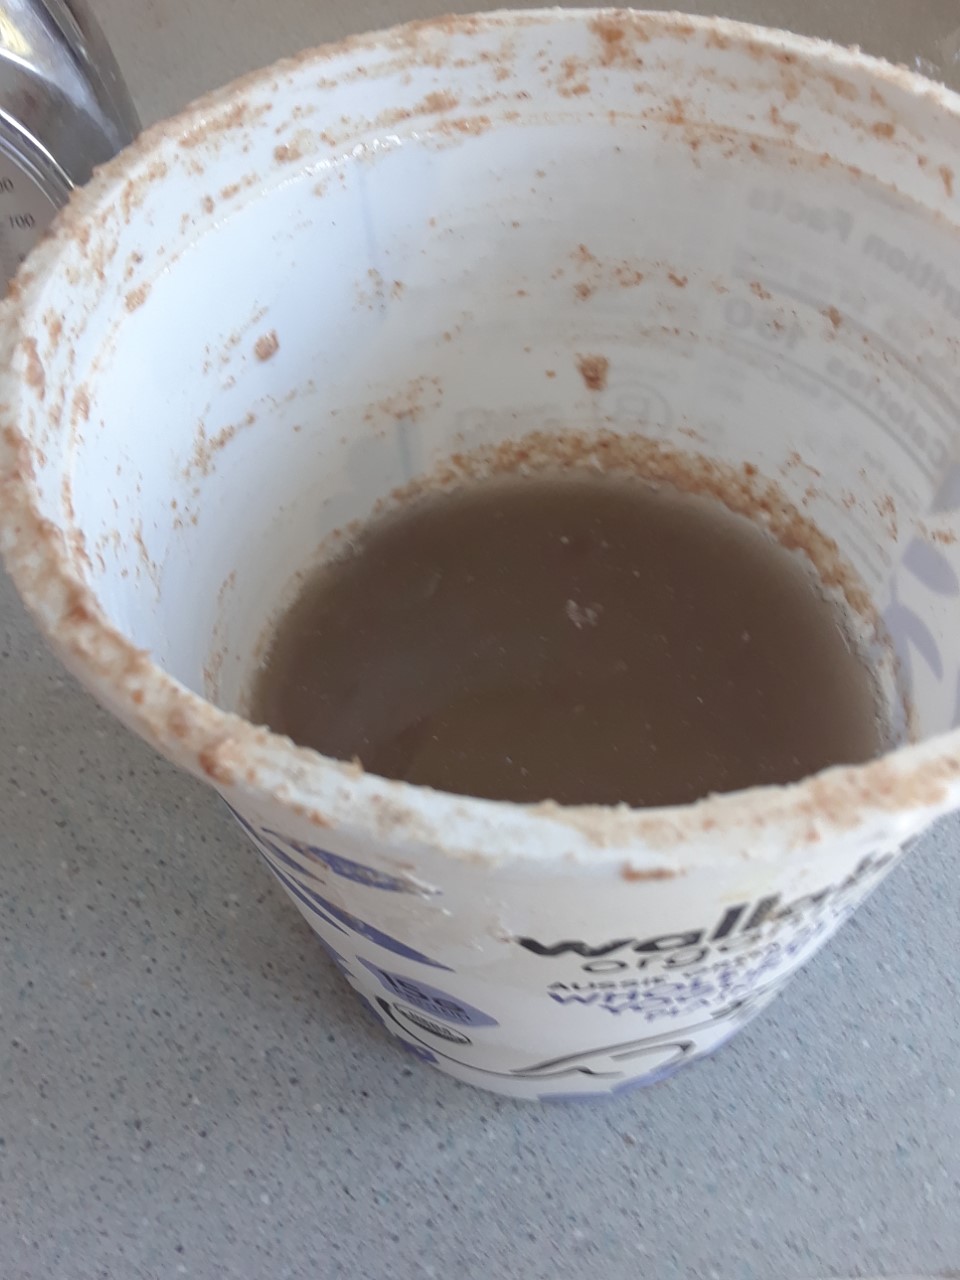
Note on the starter: I always replenish the starter any time I use the starter. Typically, before I use the starter. I add one small yogurt container’s worth of whole wheat flour (140 grams) and 1 cup water from my liquid measuring cup to my starter container and mix well.
Sometimes I replenish my starter with white flour rather than whole wheat flour. You can use either. You’ll notice that if you use white flour, your starter will get runnier, and if you use whole wheat flour, your starter will be thicker. Also the dough may be sloppier or stiffer depending on what brand and type of whole wheat flour (if using) you use. Also if you sub out rye for a portion of your whole wheat flour this will give you a stiffer dough.
No worries on any of this. Just pay attention and realize that depending what flour you are using, or what combination of flours you are using, you may wish to add more or less water.
Over my years of bread-making, one of my biggest take-home lessons is probably not to let the dough get too stiff, as this results in either a dry bread or one that doesn’t rise much and doesn’t get cooked completely in the middle, and is not the most pleasant to eat.
If your dough doesn’t seem to be doing anything, don’t be afraid to add another portion of water or a portion more starter.
Let time and soft doughiness be your friend.
